A leaky camper toilet is not only a hygienic problem, but it can also cause long-term damage to the floor and structure of the camper, which is a headache for many camper enthusiasts.This article will be your go-to repair manual, walking you through how to accurately diagnose and easily fix your camper toilet leaking problem, so you can quickly get back to a dry and comfortable camping experience.
What You'll Need
Before you start any repairs, make sure you have the following tools and materials ready:

- Gloves: To protect your hands and maintain hygiene.
- Towels/Rags: For wiping up spilled water.
- Bucket: To catch water or collect debris.
- Screwdrivers (Phillips and Flathead): For removing toilet mounting screws and related parts.
- Adjustable or Socket Wrench: For tightening water line connections.
- Silicone Sealant (Kitchen/Bath or RV-specific): For sealing the base or flange.
- Petroleum Jelly or Grease: To lubricate rubber seals, aiding installation and extending life.
- New Toilet Seal/Flange Seal: This is the most common leaking component, so it's good to have one on hand.
- New Water Valve (if the leak is from the valve): Determine if this is needed after diagnosis.
- Flashlight: To inspect the toilet base and hard-to-reach areas.
- Cleaner: For tidying up around the toilet and floor.
Specific Steps to Solve the Problem of Camper Toilet Leakage
Turn off the water and empty the toilet

How to do it: First, find the main water switch of the RV and turn it off to prevent more water from entering the toilet. Then, find the low-level drain valve of the RV water system, which is usually located at the lowest point of the water system pipeline (check your RV user manual. There are usually detailed diagrams and instructions in the manual), and open it. Next, open the cold water faucet connected to the low-level drain pipe (or the closest to the low-level drain pipe) in the car. Let as much water as possible drain from the drain valve and faucet until no water flows out. This process is to ensure that the cold water pipe is completely drained.
Cause: Completely draining the cold water from the camper RV toilet water supply line can avoid leaks or overflows during maintenance, prevent secondary damage to the RV floor and structure, and facilitate your operation and inspection of the various parts of the toilet. It is also for safety reasons.
Note: Make sure that the black water tank (or gray water tank) has enough space to accommodate the drained water.
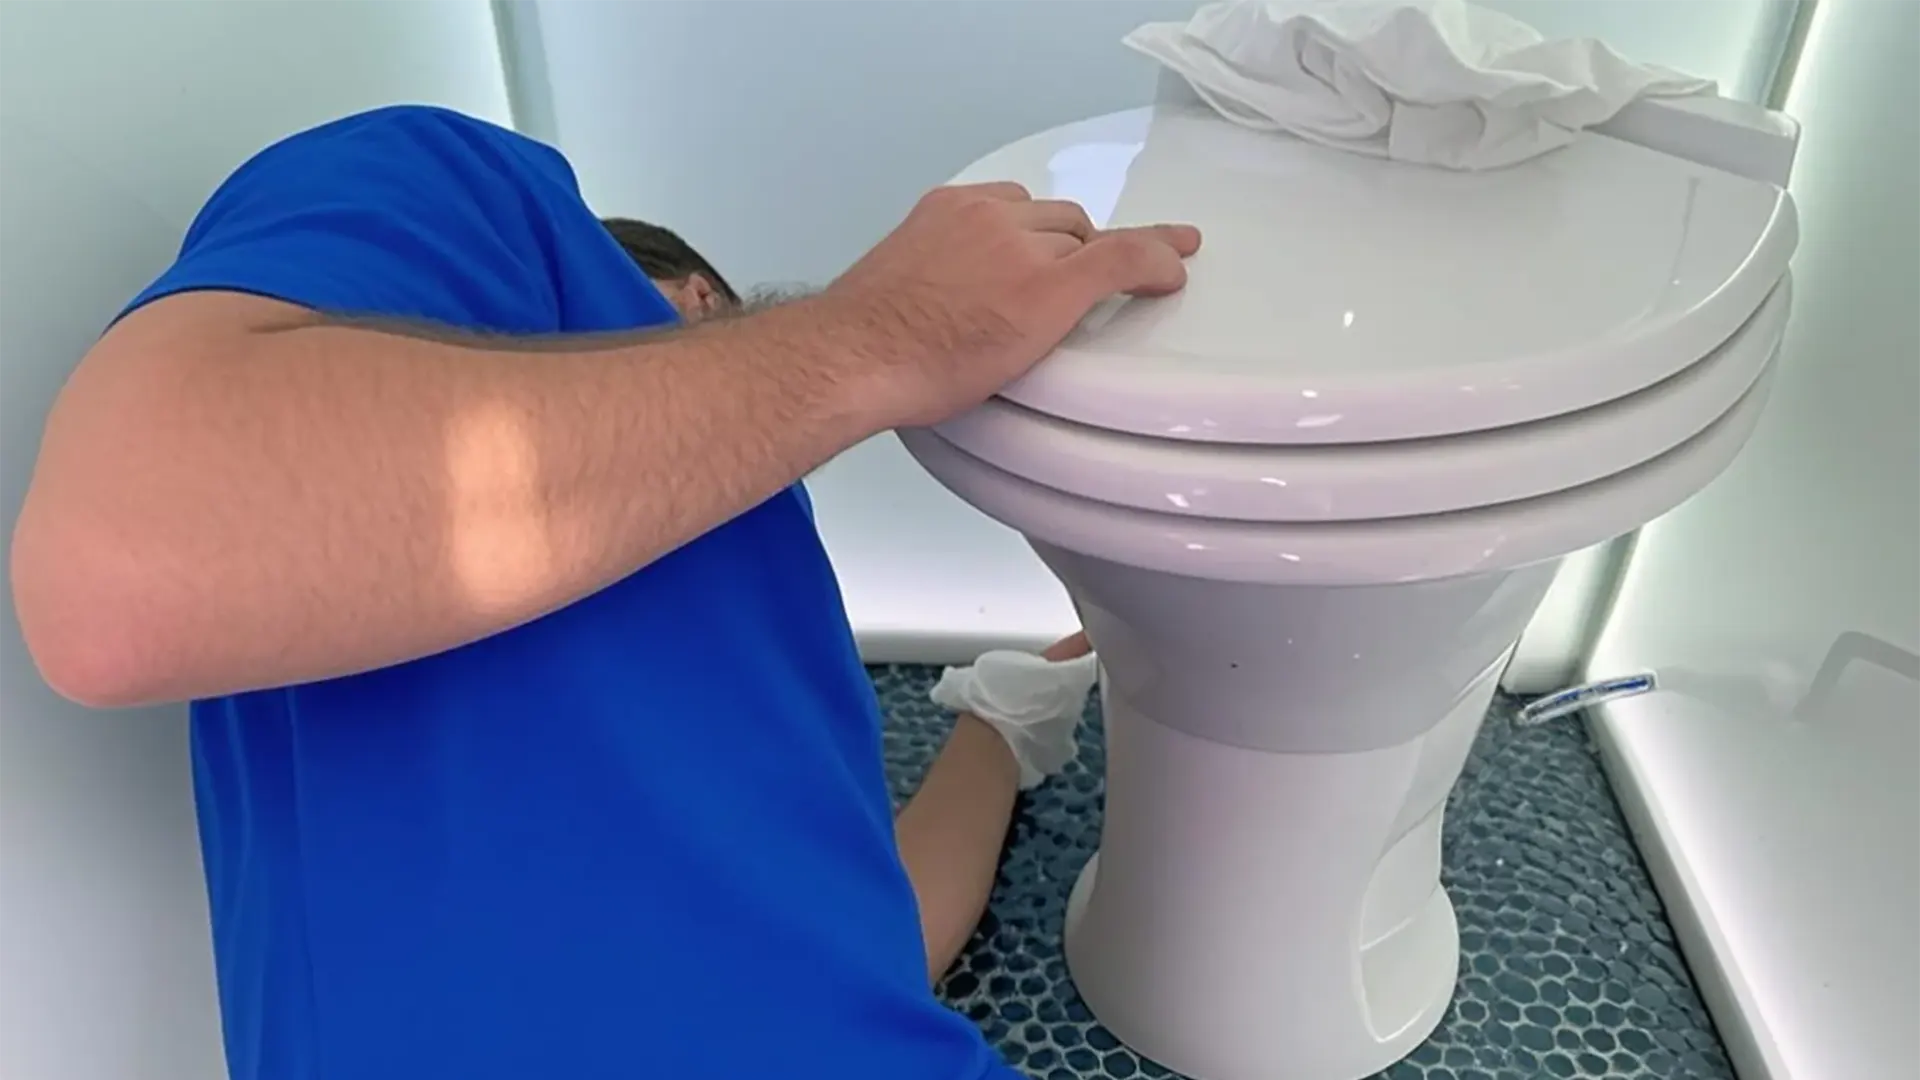
Diagnose the leak point
Operation method: This is the most critical step. Carefully observe the toilet and use a flashlight to check the bottom of the toilet, the connection to the water pipe, the flush valve, the foot pedal area, and the floor connection. Place a dry paper towel or towel on the suspected leak point and wait for a few minutes to see if there is any sign of moisture.
Cause: Only by determining the specific location of the leak can the right remedy be prescribed to avoid unnecessary disassembly and waste.
Note: Sometimes the leak point is not obvious, and it may take multiple inspections or the toilet may need to be kept dry for a period of time before observation. Common leak points include: toilet bottom seal (flange ring), flush valve, water pipe joints.
1. Leaking water pipe joints
How to operate: If you find water stains on the water pipe joints, first try to gently tighten the joints with an adjustable wrench or socket wrench. Be careful not to use too much force to avoid damaging the pipe. If it still leaks after tightening, you may need to remove the joint and check whether the gasket inside is aged or damaged. If there is a problem with the gasket, replace it with a new one.
Cause: Loose water pipe joints or aging gaskets are common causes of water leakage.
Precautions: Feel the force when tightening and stop when it is enough. When replacing gaskets, make sure to choose original or compatible products with matching sizes.
2. Replace the flush valve

How to operate: If the leak is located at the flush valve (usually plastic or brass) behind or on the side of the toilet, it needs to be replaced. First, disconnect the water pipe connected to the flush valve. There are usually two screws that fix the valve to the toilet, remove them with a screwdriver. When installing a new flush valve, make sure all connections are tightened and new O-rings or seals are in place.
Cause: Aging or damage to the internal components of the flush valve may cause it to not be completely closed, causing continuous water leakage.
Note: The removal and installation methods of the flush valve may be slightly different for RV toilets of different brands and models. Please refer to the user manual of the toilet.
3. Toilet bottom seal (flange)

Operation method: This is the most common cause of water leakage. First, find the two fixing screws at the bottom of the toilet connected to the floor and remove them with a screwdriver or wrench. Gently shake the toilet to lift it off the floor, being careful not to damage the pipes. Remove the old seal and thoroughly clean the residue on the bottom of the toilet and the floor flange. Place the new seal on the floor flange, making sure it is in the correct position, and then carefully put the toilet back in place, aligning the screw holes. Tighten the fixing screws, but not too tight.
Cause: Long-term use or dryness can cause the bottom seal to age, crack or deform, and lose its sealing.
Note: Before installing the new seal, you can apply a small amount of vaseline or grease on both sides of the seal to help seal and extend its life. Tighten the screws evenly to avoid uneven force on the toilet and cause it to leak again.
Reapply silicone seal
How to operate: At the junction of the bottom of the toilet and the floor, you can apply a circle of waterproof silicone sealant along the edge to increase the seal. Make sure the surface is clean and dry, then evenly apply a thin layer of silicone and smooth it with your fingers or a scraper.
Reason: The additional silicone seal can provide double protection for the bottom, especially when the flange is slightly uneven.
Note: Choose waterproof silicone specifically for kitchens, bathrooms or RVs, and ensure that it has good adhesion and water resistance. After application, wait for the silicone to dry completely (usually 24 hours) before using the toilet.
Restore water source and test
How to operate: After all repairs are completed, slowly turn on the main water source switch of the RV and let the water flow back to the toilet. Flush the water several times, then carefully check all previously suspected leaks to see if there are new water stains. You can wipe it again with a dry paper towel to confirm that there is no leakage.
Reason: This is a key step to verify the repair effect.
Note: Don't rush, watch patiently for a few minutes or even longer to make sure everything is foolproof. If it still leaks, recheck the steps and try to relocate the problem.
Tips
Regular maintenance: Check the toilet seal and water pipe joints once a year to find and solve problems in advance.
Use special cleaners: Avoid using highly corrosive cleaners, which may accelerate the aging of rubber seals. Choose RV-specific or neutral cleaners.
Winter antifreeze: When parking your RV in winter, be sure to completely empty the water in the toilet and water tank, and carry out antifreeze treatment to prevent ice from causing pipes and valves to rupture.
Spare parts: Prepare some common wearing parts such as toilet seals and water valves for emergency use.
Conclusion
Fixing a leaking camper toilet might seem daunting, but with the right methods and tools, you can easily tackle it yourself. Through this detailed guide, you've learned all the essential techniques for diagnosing leaks, replacing key components, and effectively sealing your toilet. Now, it's time to put that knowledge into practice and restore your RV to perfect condition!
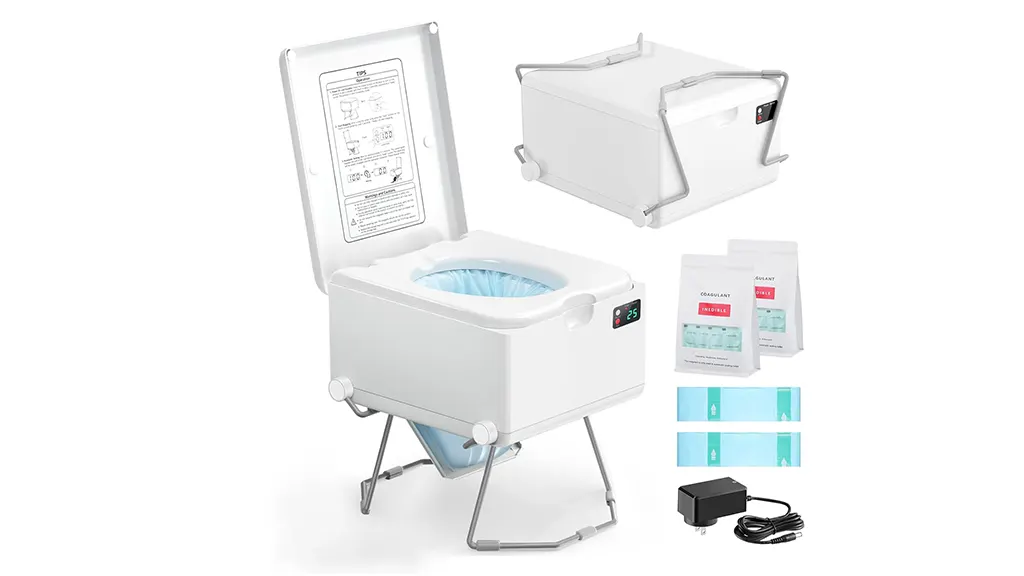
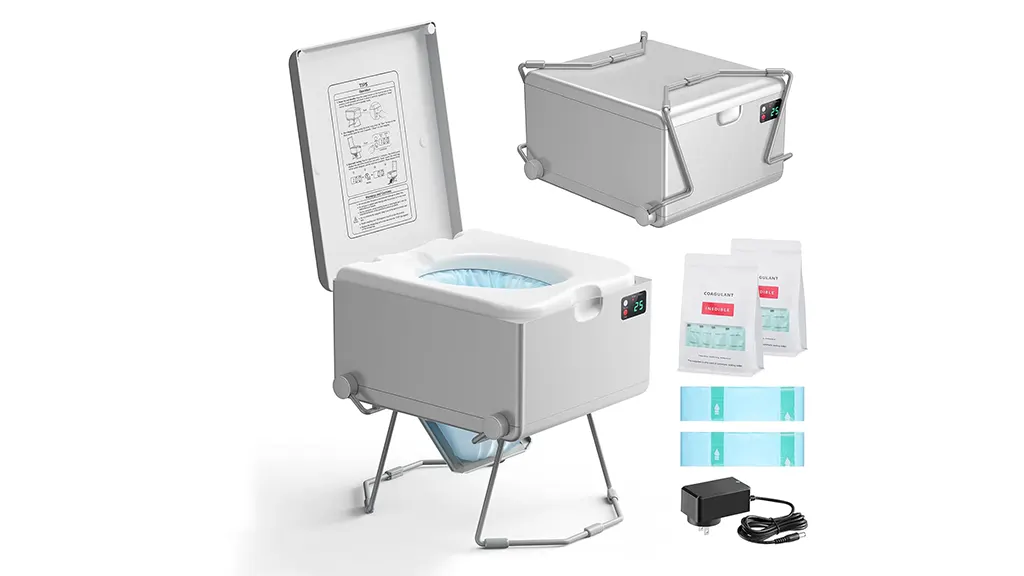
If repairing your RV toilet feels like too much trouble, or if leaks keep coming back, consider an upgrade. You might look into waterless toilets, such as the Modiwell dry flush RV toilet. These don't use water to flush, which means no more leaks. Plus, they're much simpler to clean, making your RV camping experience significantly better.